As an automotive professional, I’ve seen awesome and terrible car paint jobs. The difference between these outcomes was often in the preparation.
Spray painting has to be one of the most challenging DIY automobile projects. As a non-professional, you shouldn’t be attempting it if you are not ready to put in a healthy dose of planning, patience, and time. It’s certainly not impossible, as, with the right prep work and information, even novices can achieve a professional finish.
In this article, I’ve written everything you need to know about preparing your car for painting.
Things You’ll Need to Prep and Paint Your Car
- Sanding pads
- Paint sprayer ((HVLP, LVLP, or airless)
- Power sander
- Air compressor
- Cleaning solvent
- 1200- and 2000-grit wet-and-dry sandpaper
- Masking tape
- Newspaper
- Body filler
- Primer
- Rust removal
- Wire brush
- Basecoat paint
- Clear coat lacquer
- Paint thinner
- Safety glasses
- Face mask
The Step-by-step Process To Prep Your Car For Paint
Preparation
Before you start, keep in mind that painting your car is not going to happen in one day. You should set aside a few days or a couple of weekends for the task. You should also probably eliminate thoughts of doing it in your home’s garage. Residential garages might have furnaces or heaters. These could combust upon contact with paint fumes.
You want to choose a place that is spacious, well-lit, and offers plenty of ventilation with minimal debris or dust. Of course, your location should also have electricity.
Sanding
Now, onto the prep work proper. Sand your vehicle in circular motions, either down to the bare metal or the original primer. You simply want to create a smooth surface on which you can apply your new paint. You would need a power sander for this task. There are some parts you would have to reach by hand, and this is where your sandpaper comes in.
Once the sanding is done, wipe the car thoroughly with paint thinner to remove dust, then wait for the residue from the thinner to evaporate before moving on to the next step.
Rust and Dent Removal
You want to make sure there are no dents or rust on the car. Using a wire brush, remove as much loose rust as possible. Deep or widespread rust can be removed with rust removal products. Make sure to apply only to the affected area and follow the instructions given by the manufacturer.
Small dents and patches can be easily filled and made invisible with body filler. Mix the hardener with a filler, taking care not to whip or aerate the mixture. Once applied, wait for it to harden, then sand it smooth.
Masking
If you’re only painting parts of the exterior, you’ll have to mask off the areas you don’t want to paint with masking tape and newspapers. These include mirrors, glass, door handles, and window trim.
Priming
Mix your primer (ideally a rust-resistant primer) with paint thinners, taking care to read the instructions for the appropriate ratio. Apply your primer in thin, even coats, working from the roof down. You’ll want to apply two to three coats. You might need to wait for 20 minutes or an hour between each application to allow the primer to cure, depending on the instructions on the container.
Once priming is done, sand the surface again with 2000-grit wet and dry sandpaper. Afterward, wipe the primed surface with a rag slightly dampened with thinners. Be careful not to use too much thinner and strip the primer.
Painting
If this is your first time painting, you want to devote a little time to practicing and making sure you get your technique right. You can do this with a used car panel. Once you’re ready to paint, mix the paint with the thinners, following the recommended ratio by the manufacturer.
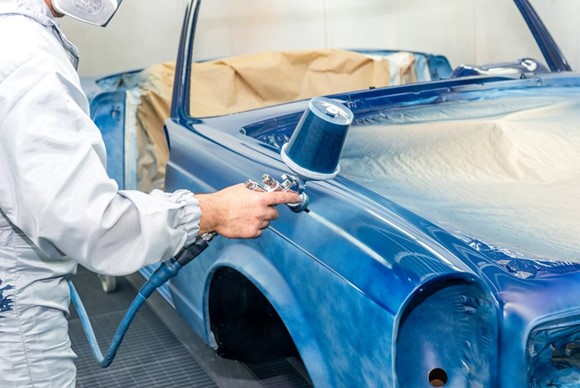
Apply the spray paint in thin, even coats, holding the spray gun six inches away from the surface and using a side-to-side motion. You should apply three to four coats, waiting for the recommended drying time between each application.
Sand your vehicle’s surface once more and wipe with a clean rag before applying your last coat of paint. Now you can apply a clear coat lacquer using the same painting technique. Remove the masking tape you’ve used before the clear coat dries, but be careful not to let tape or paper stick to the wet paint.
Let the clear coat dry according to the recommended time, then inspect the car for any imperfections. Sand any imperfect areas and respray.
Buffing
Finish up by buffing the paint in circular motions with a buffer. Holding the buffer in the same spot for too long can burn the paint, so be mindful of that. To achieve a perfect, glossy finish, use a rubbing compound once the paint is fully dry.
I started out as a painter with no prior experience before I went into full-time car customization. One thing I can say for certain is that you don’t need a license or years of training to pull off a fantastic paint job. All you need is loads of patience and the diligence to follow the proper guidance.
This video from Youtuber and car paint expert, The Gunman, does a farily good job of showing the process. A few steps and needed items may be different, but it follows the same principle and will achieve the desired result.